Sites
The Sites view lets you manage the connections to the sites you can use with Grafida.
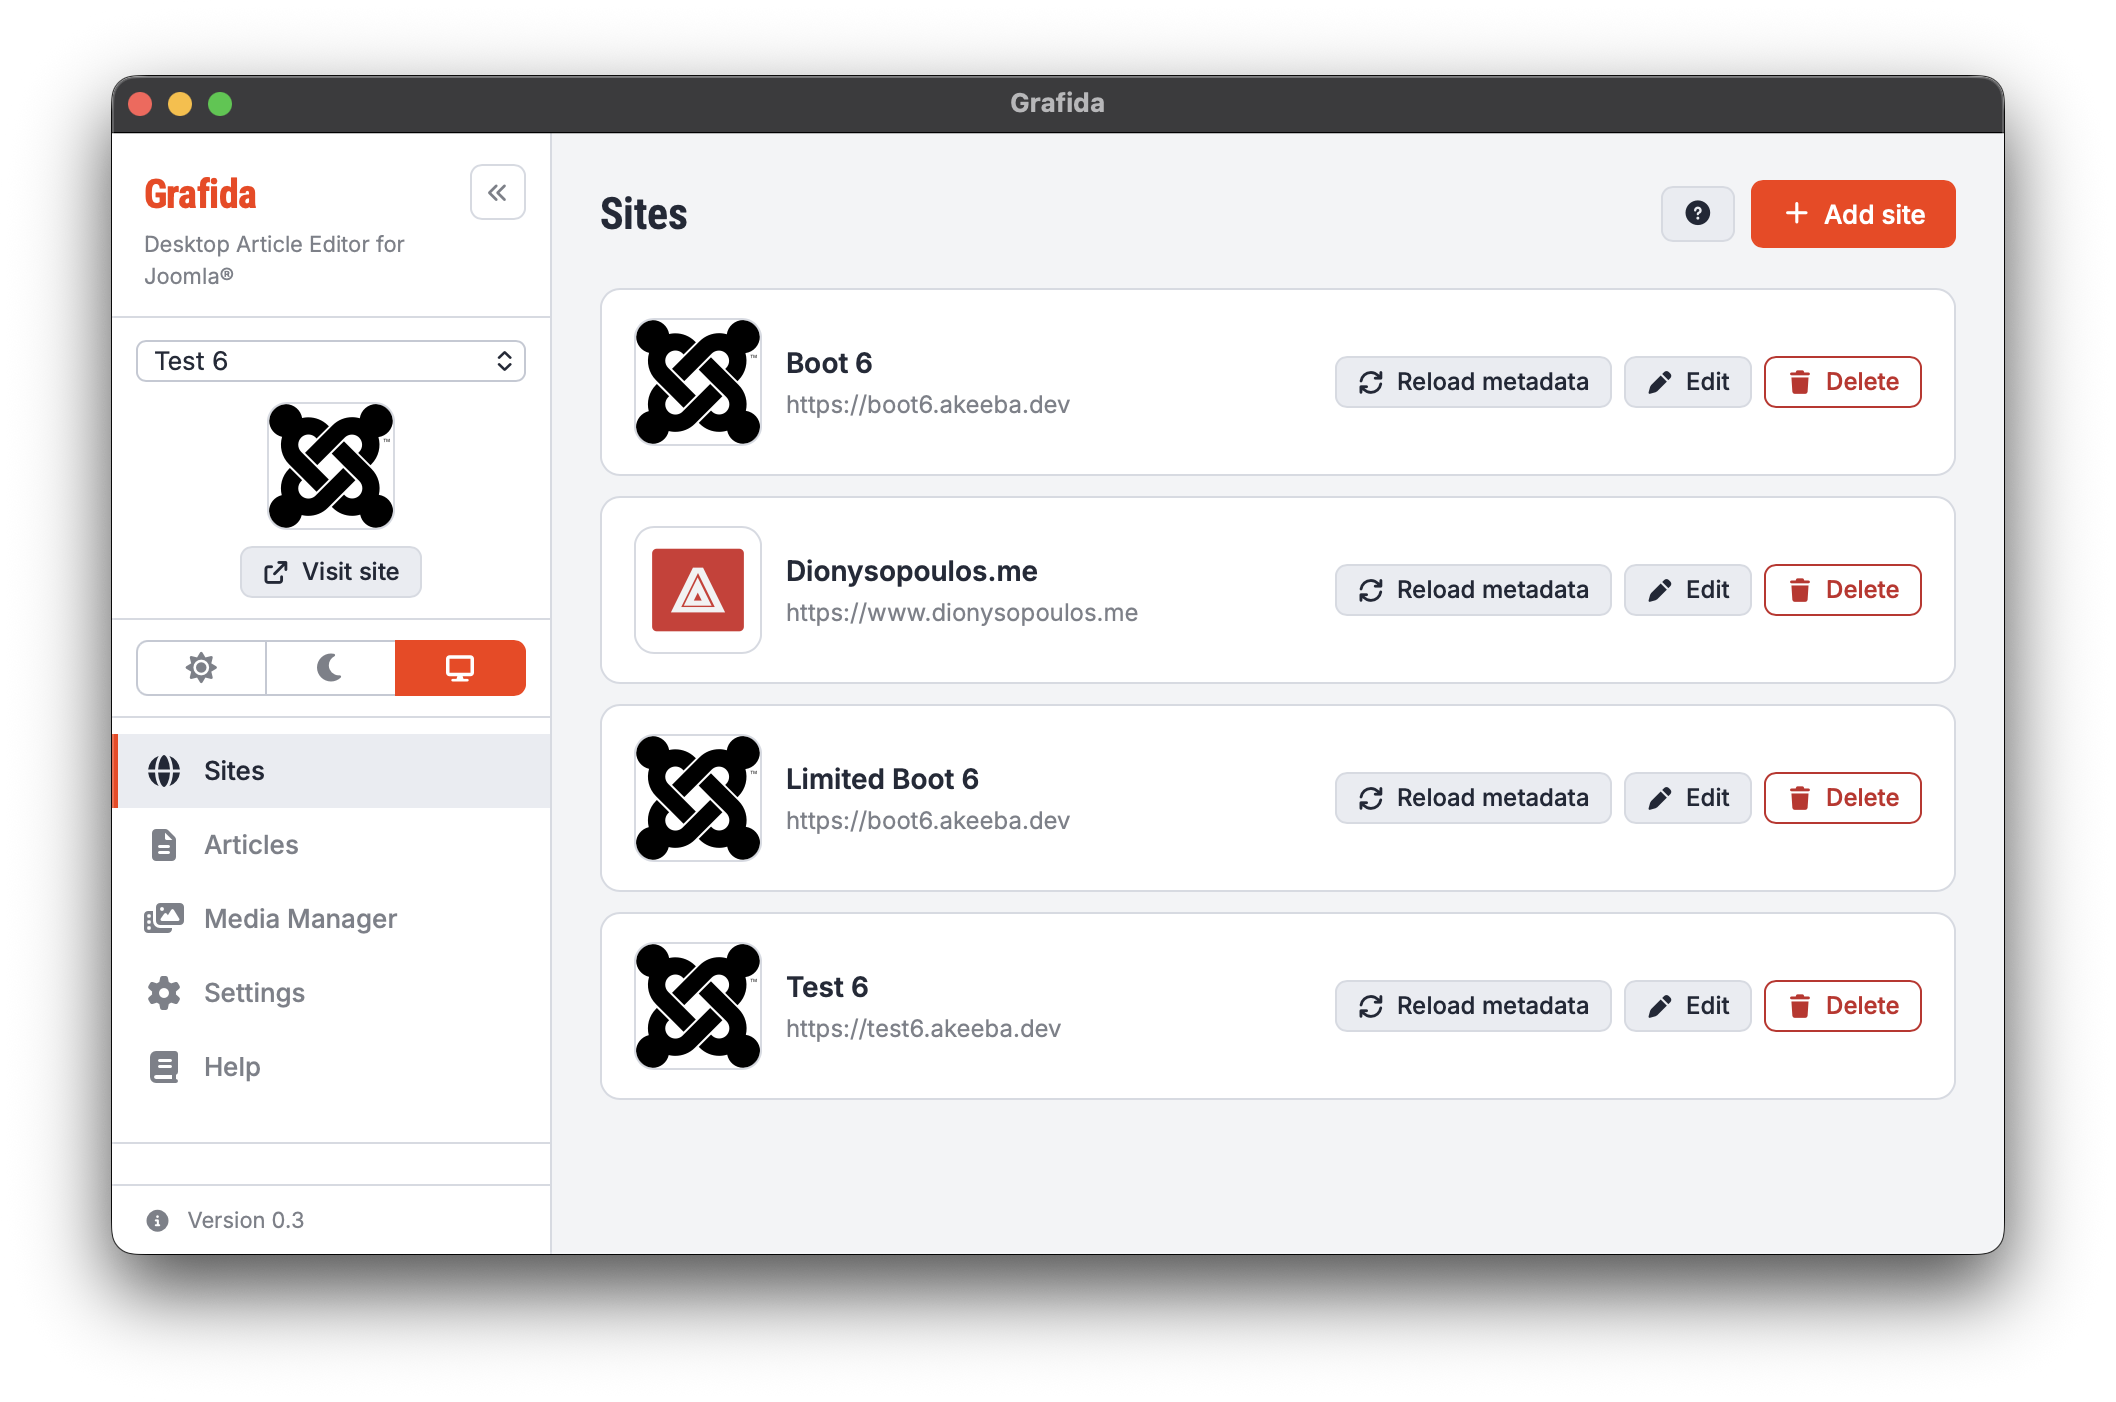
Use the Add Site button to add a new site.
The Reload metadata button refreshes the information Grafida has cached for the site: languages, current template, categories, access levels, custom fields, and tags. You may need to use this if you were off-line for a while and things changed on the site in the meantime.
The Edit button lets you edit a site.
The Delete button deletes the site from Grafida's database along with all of its associated information.
Caution
Deleting a site will permanently remove all unpublished drafts associated with this site. You cannot recover a deleted site or deleted drafts.
Adding or editing a Site
When you add or edit a site, you see the Site's Edit dialog.
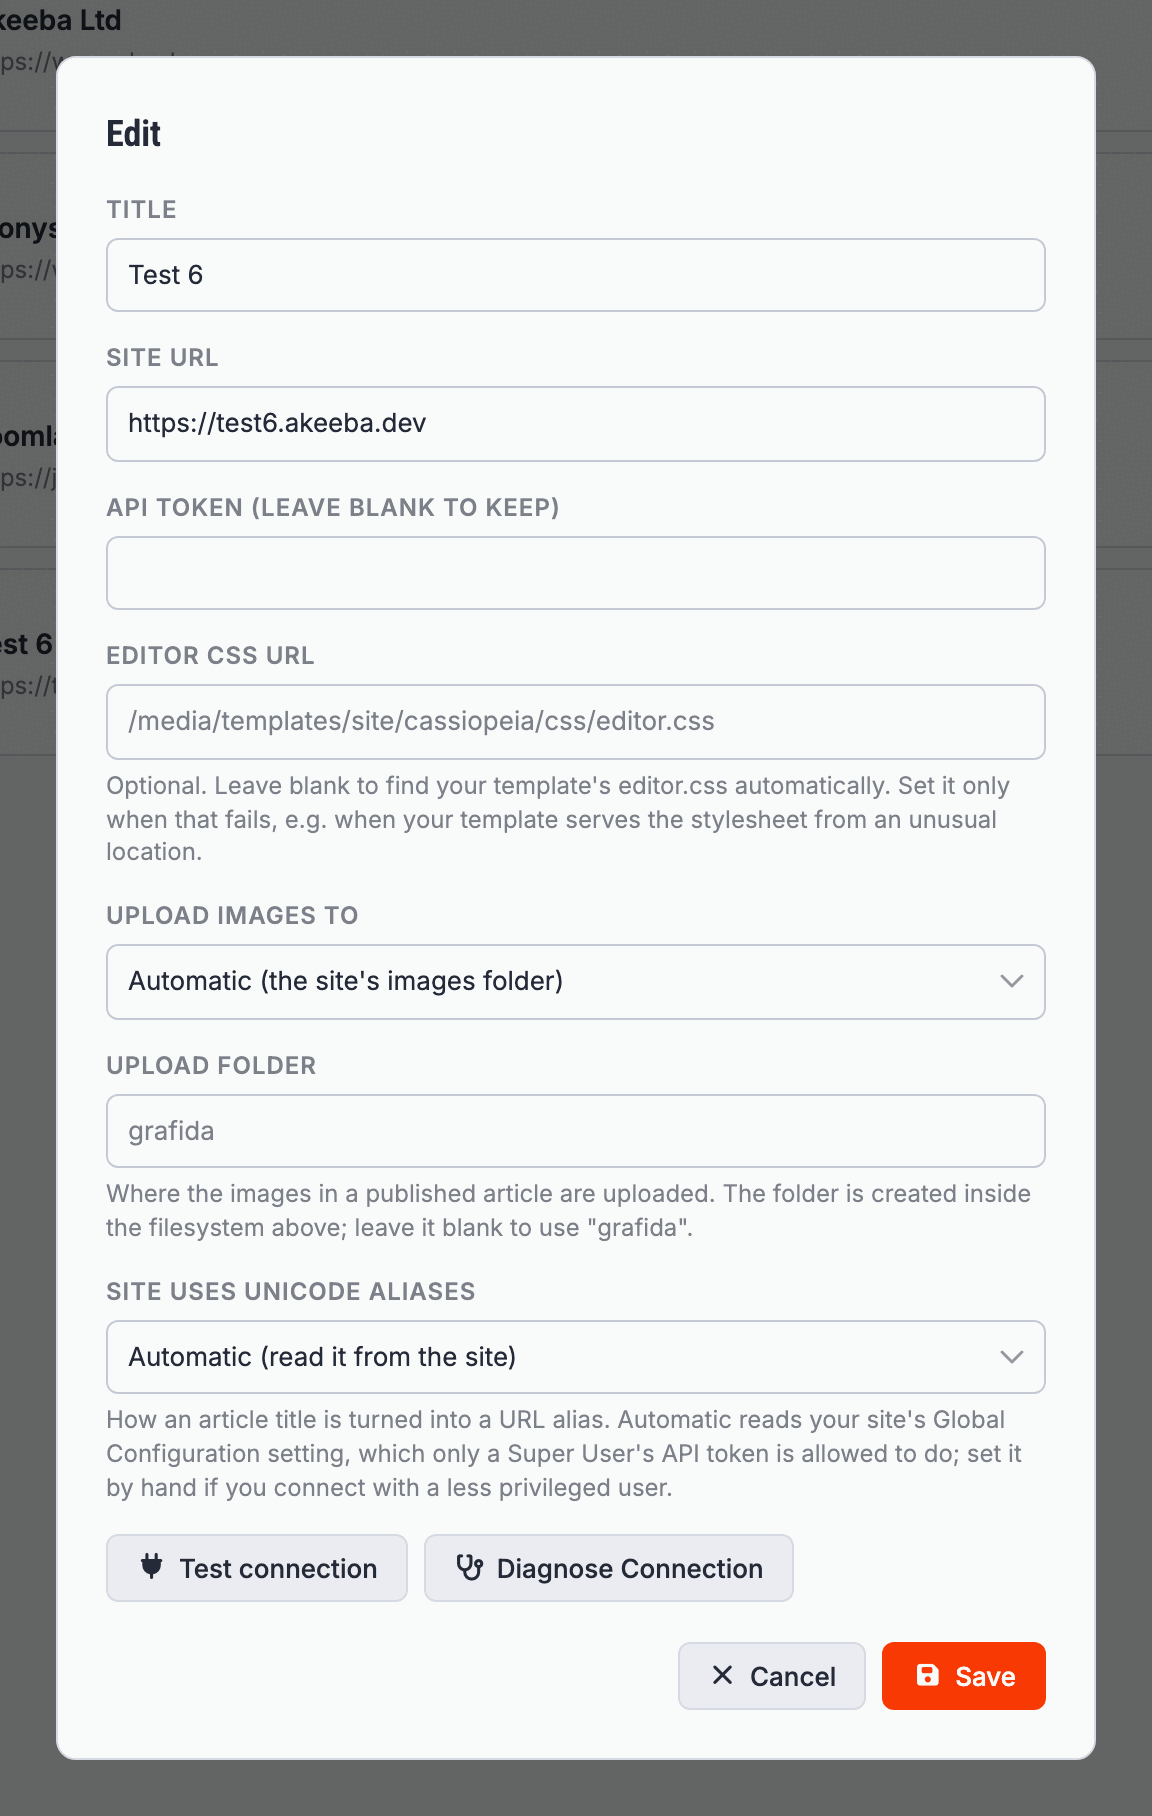
Title. A (short) title which makes sense to you, e.g. “Acme Blog”. It does not have to be the same as the site's title defined in Joomla's Global Configuration. Keep it short; it will be shown in the navigation sidebar's drop-down.
Site URL. The site's base URL, e.g. https://www.example.com.
If you're using a multi-language site, you will see a browser URL with the language code in it such as https://www.example.com/en or https://www.example.com/index.php/en. Do not include the language code in the Site URL field.
API Token. Your personal Joomla API Token.
When editing a site, the API Token is shown blank. This is an intentional security measure. Leave it blank to keep the same API Token. However, if you want to use the Test Connection or Diagnose Connection button, you will need to reenter it.
Editor CSS URL. The path relative to the site's root for the editor.css file which will be loaded in the article editor.
In most cases you can leave it empty.
If you are not a Super User and / or your site is using a non-standard path for its template's media files AND you want your editor in Grafida to use the same text styling used across your site you will need to enter the relative path to the editor.css or equivalent file on your site, e.g. media/custom_stuff/editor.css. You can read more about this file and how it's used in Joomla co-founder Brian Teeman's blog.
Upload images to. The Joomla filesystem (Media Manager “adapter”) which receives the images of the articles you publish. Leave it set to Automatic and Grafida uploads to your site's images filesystem — the same place Joomla's own image fields use.
Change it only if your site keeps its article images somewhere else, e.g. in a second local filesystem or a cloud filesystem provided by a third party plugin. The list is read from the site itself, so it is only available when editing a site you have already connected.
Grafida deliberately does not leave this choice to Joomla. Joomla's REST API sends an upload with no filesystem named to whichever filesystem matches the Path to Files Folder option in Media Manager's Options, which is files on a stock Joomla installation — so your article images would end up in your site's files folder, not its images folder.
Upload folder. The folder inside that filesystem where the images are uploaded, e.g. blog/2026. It is created if it does not exist. Leave it empty to use a folder named grafida.
Site uses Unicode Aliases. Which of Joomla's two rules turns an article title into a URL alias. Leave it set to Automatic and Grafida reads the Unicode Aliases option from your site's Global Configuration.
Reading that option requires a Super User's API Token; it is not a Grafida restriction, it's how Joomla's API works. If you connect with a less privileged user Grafida cannot see the setting and, on Automatic, assumes it is off — which is Joomla's own default, but wrong if you have turned it on. Set this to Yes or No yourself to say which it is. See Aliases and transliteration.
You can use the Test Connection button to check that the Site URL and API Token you have entered work properly.
If the connection fails, click on Diagnose Connection. See Connection Troubleshooting for more information.